
A Beginner's Guide to Applying UV DTF Transfers
Share
Creating professional-looking custom products might seem like it requires expensive equipment and years of experience. The good news is that technology has made it easier than ever to achieve stunning results right from your own workspace. UV Direct-to-Film (DTF) transfers are at the forefront of this movement, offering a simple way to apply durable, vibrant designs to hard surfaces without any special machinery.
You don't need a heat press, a cutting machine, or complex software to get started. The process is as simple as peel, stick, and reveal. This guide will walk you through every step of applying a UV DTF transfer, from preparing your surface to achieving a flawless, long-lasting finish. Whether you're a small business owner looking to expand your product line or a DIY enthusiast eager to personalize your belongings, you’ll see just how easy it is to create something amazing.
What You'll Need for a Perfect Application
One of the best things about working with UV DTF transfers is the short supply list. The technology does all the heavy lifting for you.
Here’s everything you’ll need:
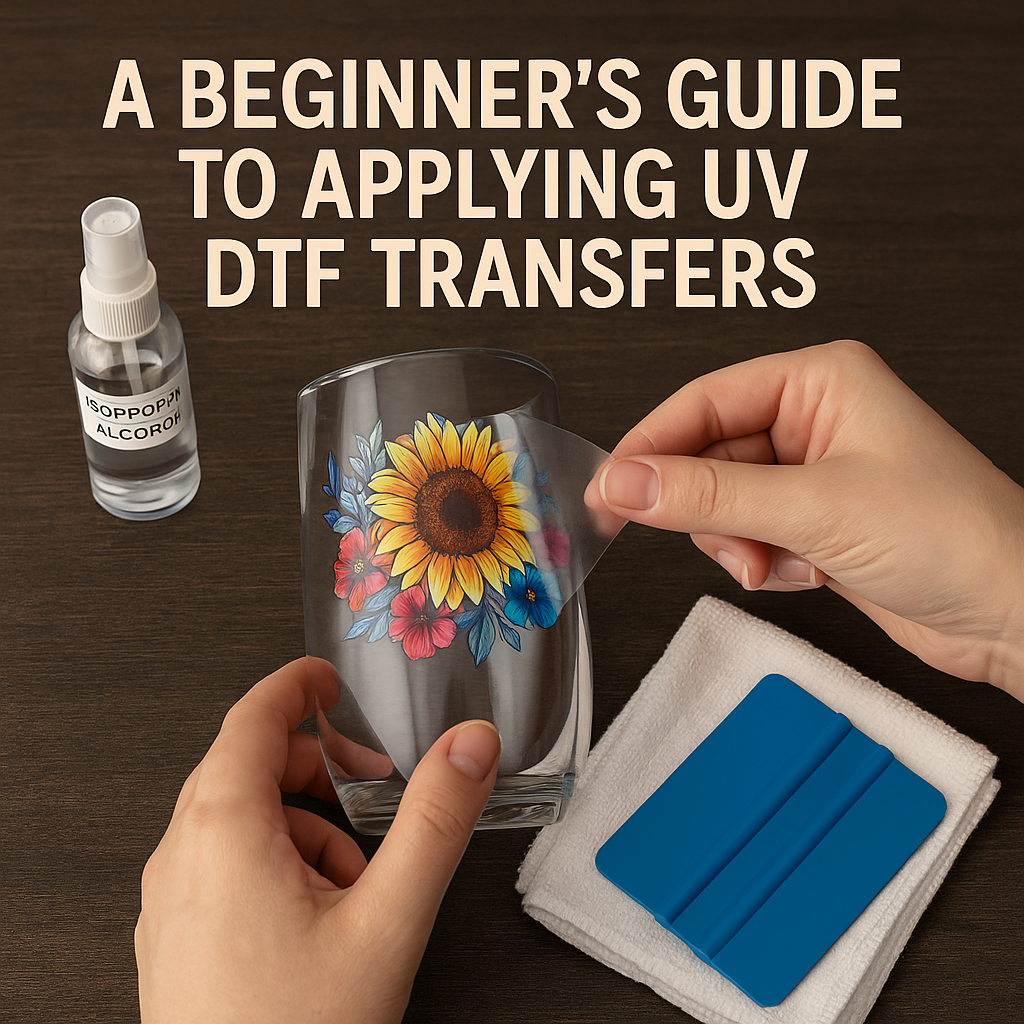
- Your UV DTF Permanent Sticker from Texas Transfers and Designs.
- The item you want to customize (e.g., glass cup, tumbler, phone case, laptop).
- A soft, lint-free cloth.
- Isopropyl alcohol.
- A squeegee or a firm plastic card (like a credit card).
That’s it! With these simple tools, you’re ready to begin.
Step 1: Prepare Your Surface for Success
Proper preparation is the most critical step for ensuring your transfer adheres correctly and lasts for a long time. Any dust, oil, or residue on the surface can interfere with the adhesive, leading to peeling or bubbling. Taking a moment to clean your item properly will guarantee a professional result.
First, wash your item with soap and water if it's new or particularly dirty, then dry it completely. Next, take your lint-free cloth and dampen it with isopropyl alcohol. Thoroughly wipe down the entire area where you plan to place the transfer. The alcohol will remove any remaining fingerprints, oils, or invisible films.
Let the surface air-dry completely. This usually only takes a minute or two. Avoid touching the cleaned area with your fingers, as this can reintroduce oils onto the surface. A perfectly clean, dry surface is the ideal canvas for your UV DTF transfer.
Step 2: Position Your Design with Confidence
Now for the creative part: deciding on placement. Before you peel the backing off your transfer, take some time to position it on your item. This "dry run" allows you to visualize the final look and make adjustments without commitment.
Lay your item on a flat, stable surface. Place the transfer (with both backing layers still intact) onto the item and move it around. Check it from all angles to ensure it is centered and straight. For cylindrical items like tumblers or glass cans, you may want to use a measuring tape to ensure the design is perfectly level.
Once you are happy with the placement, you can use a small piece of painter's tape to mark the alignment or simply make a mental note of where it should go.
Step 3: The "Peel, Stick, and Rub" Application
This is where the magic happens. The application process is straightforward, but it’s best to work slowly and deliberately to avoid mistakes.
Peel the Backing
Place the transfer face down on a flat surface. Carefully peel the white paper backing away from the clear carrier film. The adhesive design should remain on the clear film. Go slowly and watch to make sure the entire design lifts off the paper. If any part of the design sticks to the paper backing, lay it back down, rub over that area firmly, and try peeling again.
Stick the Transfer
Holding the clear carrier film by the edges, carefully align the transfer with your desired position on the item. If you’re applying it to a curved surface, it often helps to start from the center and smooth your way outward. Once you are satisfied with the alignment, gently lay the transfer down. The adhesive is strong, so once it makes contact, it is difficult to reposition.
Rub to Secure the Bond
Take your squeegee or credit card and rub firmly over the entire design through the clear carrier film. Apply consistent, even pressure. This step is crucial, as it ensures every part of the adhesive makes solid contact with the surface. Work from the center outwards to push out any potential air bubbles. Go over the entire design several times, paying special attention to any small details or thin lines.
Step 4: The Grand Reveal
After you have thoroughly rubbed the design, it’s time to remove the top carrier film. This is the most satisfying part of the process!
Start at one corner and slowly peel the clear film away from the surface. Keep the film low and pull it back at a sharp angle, almost parallel to the surface. Do not pull it straight up. As you peel, watch to ensure the design remains on the item.
If you notice any part of the design lifting with the carrier film, stop. Lay the film back down over that area and rub it again with your squeegee, applying firm pressure directly to the problem spot. Then, resume peeling the carrier film slowly and carefully.
Once the film is completely removed, your vibrant, glossy design is revealed. It will be permanently bonded to the item with a slightly raised, professional finish.
Final Touches and Aftercare
Your custom item is almost ready to show off. The adhesive on UV DTF transfers continues to cure and strengthen over time. For best results, let the item sit for at least 24-48 hours before use or washing. This curing period allows the bond to reach its maximum strength.
To ensure your custom creation lasts as long as possible, follow these simple care tips:
- Hand wash only. UV DTF transfers are waterproof and durable, but the high heat and harsh detergents of a dishwasher can damage the adhesive over time.
- Avoid soaking. Do not leave the item submerged in water for extended periods.
- Do not use in the microwave. The transfers are not microwave-safe.
- Avoid abrasive scrubbers. When washing, use a soft sponge or cloth on the design.
You're Ready to Create!
That's all there is to it. The simplicity of the UV DTF application process empowers everyone to become a creator. You can produce high-quality, durable, and professional-looking custom products in just minutes, without the mess, expense, or steep learning curve of other methods. This efficiency is a game-changer for small businesses looking to create merchandise and for crafters wanting to elevate their projects.
Ready to start your first project? Explore our wide range of UV DTF Permanent Stickers and discover how easy it is to transform everyday objects into personalized works of art.