
How Do Iron-On Patches Work? A Simple Guide
Share
Iron-on patches offer a world of creative possibilities, allowing you to transform ordinary clothing and accessories into personalized works of art. But how exactly do these patches work? The process is surprisingly simple and relies on a heat-activated adhesive that bonds the patch to fabric. This guide will walk you through everything you need to know, from preparation to long-term care, so you can apply your patches with confidence.
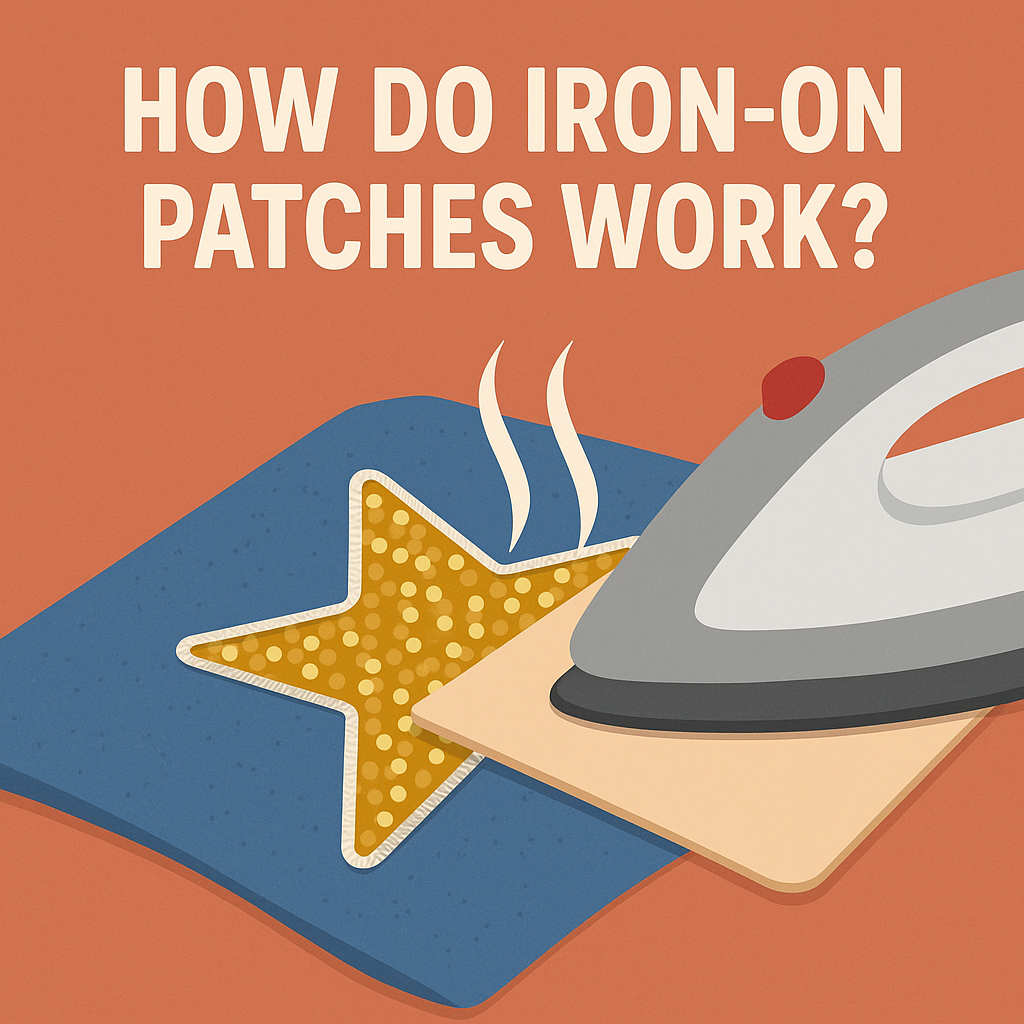
The magic behind an iron-on patch is its backing, which is coated with a special type of glue. When you apply heat with an iron or a heat press, this adhesive melts, seeps into the fibers of the fabric, and then hardens as it cools. This creates a strong, durable bond that holds your patch firmly in place. It’s a straightforward method that gives you professional-looking results without any sewing required.
Whether you're customizing a denim jacket with sparkly Sequin Star Patches or adding a Glitter Mascot Patch to a school bag, understanding the application process is key to success.
Preparing for Application
Before you bring out the heat, a little preparation goes a long way. Taking these initial steps will ensure your patch adheres properly and your final product looks fantastic.
Gather Your Supplies
You don’t need much to get started. Here’s a quick checklist:
- Your iron-on patch(es)
- The garment or accessory you want to decorate
- A household iron or heat press
- A pressing cloth (a thin towel, pillowcase, or Teflon sheet works well)
- A hard, flat surface (an ironing board is good, but a sturdy table is even better)
Choose the Right Fabric
Iron-on patches work best on materials that can withstand high heat. Cotton, denim, and canvas are excellent choices. Be cautious with synthetic fabrics like nylon, rayon, or polyester, as they can scorch or melt under the direct heat of an iron. Always check the garment’s care label first. If you're unsure, test a small, hidden area of the fabric with the iron before proceeding.
Prepare Your Garment
Start by washing and drying your garment without fabric softener. Fabric softeners can leave behind a residue that prevents the patch’s adhesive from bonding effectively. A clean surface is essential for a strong attachment. Once clean, iron the area where you plan to place the patch to remove any wrinkles and pre-heat the fabric.
The Step-by-Step Application Process
With your supplies gathered and your garment ready, it's time for the fun part. Follow these steps for a perfect application every time.
Step 1: Position Your Patch
Lay your garment on a flat, heat-resistant surface. Carefully decide where you want to place your patch. Do you want a single statement piece, like a bold Houston Striped H Patch, or a fun cluster of Summer Filler Patches? Take your time to get the positioning just right.
Step 2: Set Up Your Iron
Preheat your iron to the setting appropriate for your fabric. Generally, a high-heat setting (like cotton/linen) works best, but adjust as needed based on your garment's material. Make sure the steam function is turned OFF. Steam can introduce moisture that interferes with the adhesive.
Step 3: Protect and Press
Place a pressing cloth over the patch. This thin barrier protects both the patch and your garment from the direct heat of the iron, preventing scorching or melting, which is especially important for delicate patches with sequins or glitter.
Press the iron firmly down onto the pressing cloth over the patch. Hold it in place for about 30-45 seconds. Avoid moving the iron around, as this can shift the patch. The combination of steady heat and firm pressure is what activates the adhesive.
Step 4: Check the Bond
Carefully lift the iron and the pressing cloth. Allow the area to cool for a moment, then gently test the edges of the patch with your finger. If an edge lifts, it means the adhesive hasn’t fully bonded. Simply replace the pressing cloth and press again for another 15-20 seconds, focusing on the loose areas.
Step 5: Press from the Inside
For an extra-secure bond, turn the garment inside out. Place the pressing cloth over the back of the patched area and press with the iron for another 20-30 seconds. This step helps the adhesive melt into the fabric from the reverse side, reinforcing the attachment.
Step 6: Let It Cool Completely
Once you're satisfied with the bond, let the garment cool down completely. This allows the adhesive to fully harden and set. Avoid wearing or washing the item for at least 48 hours to give the patch the best chance to cure.
Tips for Long-Lasting Patches
To keep your custom creations looking great for years to come, follow these simple care instructions.
- Wait Before Washing: Allow at least 48 hours before washing a newly patched item.
- Wash with Care: Turn the garment inside out before washing. Use a gentle cycle with cold water to reduce stress on the patch.
- Air Dry When Possible: Tumble drying can expose the adhesive to high heat, which may cause it to soften and loosen over time. Air drying is the safest option. If you must use a dryer, choose a low-heat or no-heat setting.
- Avoid Bleach and Fabric Softeners: Harsh chemicals can damage the patch or weaken the adhesive.
- For Extra Security: If you're applying patches to a frequently washed or heavy-use item like a jacket or backpack, consider adding a few stitches around the edges for maximum durability.
Iron-on patches are a simple, effective, and fun way to express your style or build your brand. The process is straightforward enough for beginners but delivers results that are clean and professional. From intricate woven designs like the Astros Patch to dazzling glitter styles, there’s a patch for every project.
Ready to start your next customization project? Explore the full collection of Iron-On Patches at Texas Transfers and Designs and bring your ideas to life!